How to Keep Burgers From Shrinking on the Grill

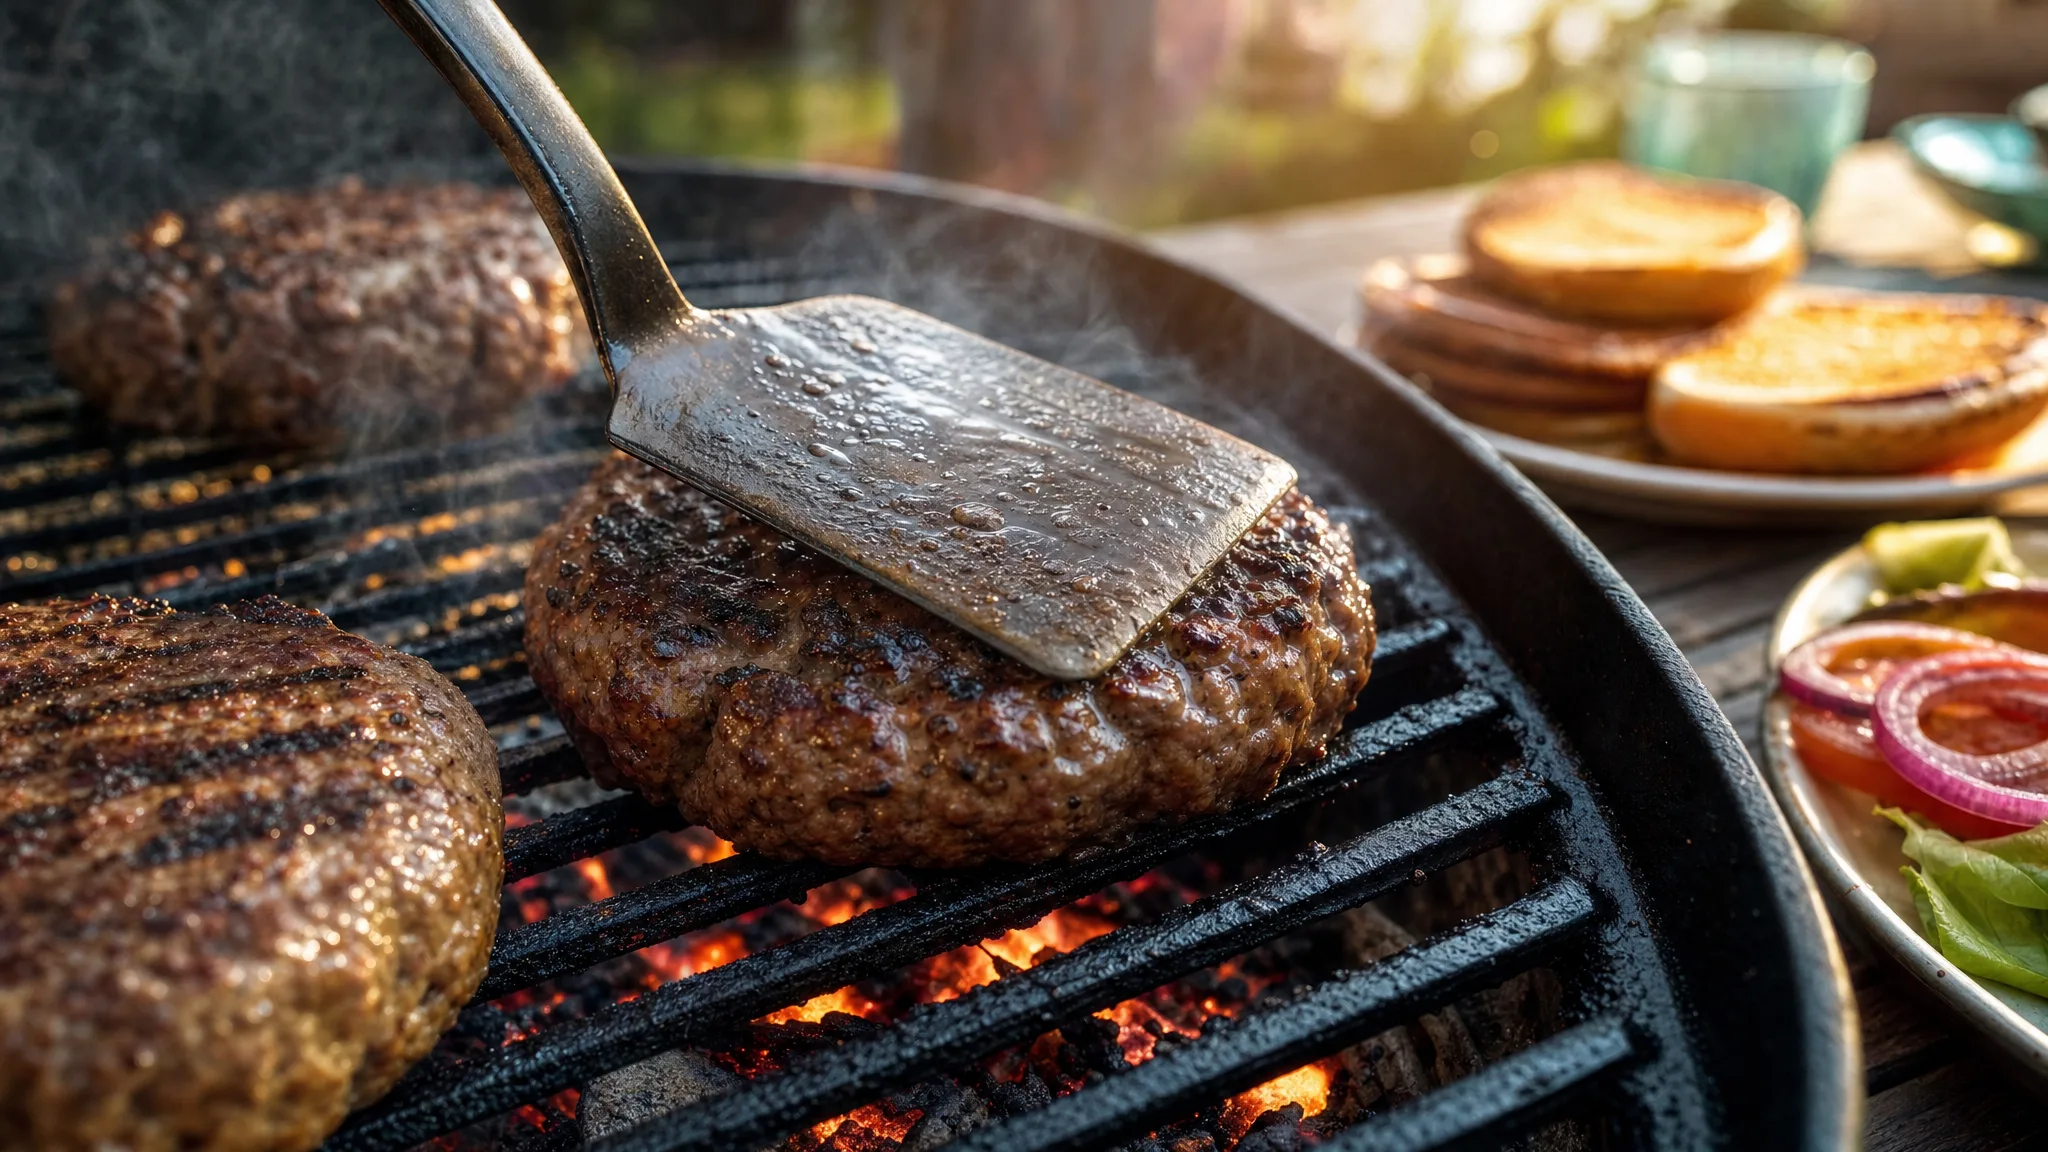
There is one specific heartbreak that happens over a hot grill, and it has nothing to do with burnt food. You shaped six big, beautiful patties — wider than the buns, perfectly round, feeling like a pro. Four minutes later you flip them and watch the edges pull inward, the centers rise like little hills, and suddenly you are serving meatballs on a bun. Nothing was burnt. Nothing was raw. It just shrank.
Here is the good news: burger shrinkage is not random and it is not a sign that you did something wrong in a vague, unlucky way. It is predictable food science with a handful of controllable variables — blend, patty geometry, how you handle the meat, and how much heat you throw at it. Get those four things right and your patties come off the grill almost the same diameter they went on: flat, juicy, and wide enough to carry their toppings without falling apart.
Let us break down exactly what is happening inside the patty, then walk through every fix in order, from the butcher counter to the bun.
Why Burgers Shrink in the First Place.
Ground beef is roughly 60 to 70 percent water by weight, plus muscle protein and fat. Those three things each react to heat in a different way, and the combination is what ruins your bun math.
The main culprit is protein. Muscle proteins, mainly the contractile proteins actin and myosin, denature and contract as they heat. Think of a steak hitting a hot pan: the fibers tense up and squeeze moisture out. That same reaction happens inside a burger patty, except a patty has no structure holding it together beyond the loose knit of ground meat. So when those fibers contract, there is nothing to resist them — the whole patty pulls inward, radially, toward its center.
Because the edges of a patty are exposed to heat on more sides than the middle, the perimeter tightens first. That does two things at once:
- Diameter shrinks. A typical hand-formed patty loses somewhere around 20 to 25 percent of its width by the time it is cooked through. A 5-inch patty lands closer to 3.75 to 4 inches — right at or under bun size.
- The center domes. All that inward contraction has to go somewhere, and the path of least resistance is up. The middle thickens and puffs while the edges pinch in, which is why toppings slide off and why the center of a thick patty cooks slower than the outside.
Fat and water add to the effect. Rendered fat drips through the grates, taking volume with it, and water driven out as steam means more mass lost. But here is the part that surprises people: leaner beef does not shrink less. Protein contraction, not fat loss, drives most of the diameter loss, so a 90/10 patty can shrink just as much as an 80/20 — it just ends up dry and crumbly on top of it.
Two more factors multiply the problem: overworking the meat and aggressive heat. The more you knead ground beef, the more the proteins bind into a tight, springy matrix — essentially a sausage. That denser structure contracts harder and shrinks more. Meanwhile, a screaming-hot grill blasts the outside of the patty and accelerates the edge contraction before the interior has any chance to cook evenly.
Start With the Right Ground Beef.
If you only fix one thing, fix the blend. 80/20 is the gold standard for grilled burgers and it is what most butchers and pitmasters reach for by default. It is enough fat to stay juicy and taste like beef, but not so much that the patty drowns in its own render and turns into a grease fire.
Ground chuck is the classic 80/20 choice, and it is usually the best combination of flavor and price at the meat counter. If you want to go a step further, ask your butcher for a custom grind:
- 50 percent chuck for beefy flavor and a good fat-to-lean balance.
- 25 percent brisket for a deeper, slightly sweeter beef character.
- 25 percent short rib for richness and that restaurant-style mineral tang.
Two rules matter more than the exact recipe. First, ask for a coarse grind if you can get it, sometimes sold as a chili grind. Coarse ground beef has a looser knit, which means fewer protein bonds to contract and a somewhat moister, more tender bite. Second, buy recently ground beef and use it fresh. Ground beef has far more surface area exposed to air than a whole cut, so it oxidizes and loses quality fast.
What about 70/30? It is delicious, and it is also the fattiest option, which means more flare-ups and more fat running off the patty — and grease fires do more damage to your dinner than any amount of shrinkage. What about 90/10? Save it for tacos and meat sauce. On a grill it dries out and turns mealy long before it is safe to eat.
Patty Size, Thickness, and the Bun Math.
Once you accept that you lose roughly a quarter of your diameter, you can simply plan for it. Build the patty about 25 percent wider than the bun you intend to use, then let physics do the rest.
For a standard 4-inch burger bun, that means a raw patty about 4.5 to 5 inches across. Weight-wise, 5 to 6 ounces per patty is the sweet spot for a grilled burger. Anything under 4 ounces gets thin and fragile on the grates; anything over 7 ounces is so thick that the outside overcooks while the center catches up, and thick patties dome the worst.
Thickness is the other dial. Aim for about three-quarters of an inch to an inch thick. If your patty is more than an inch thick, either your blend is too lean for that shape or you are about to eat a hockey puck at the edges. A ring mold, a wide-mouth jar lid, or a cheap burger press will give you consistent patties far faster than eyeballing it, and consistency is what makes the timing predictable.
| Patty Style | Raw Weight | Raw Diameter | Thickness | Grill Time (direct, medium-high) |
|---|---|---|---|---|
| Classic grilled patty | 5-6 oz | 4.5-5 in | 3/4 in | 3-4 min per side |
| Big backyard burger | 7-8 oz | 5-5.5 in | 1 in | 4-5 min per side, then indirect |
| Smash-style (griddle) | 2.5-3 oz | 3 in ball | 1/4 in after smash | About 90 sec per side |
| Sliders | 2-2.5 oz | 3.5 in | 1/2 in | 2 min per side |
The Thumb Dimple Trick That Actually Works.
You have probably heard this one and dismissed it as folk wisdom. Do not. Pressing a shallow depression into the center of each raw patty is one of the most reliable techniques in the burger playbook, and the reason is pure mechanics.
As the patty contracts, the center wants to rise. Give it somewhere to rise into. A dimple about the size of your thumb, roughly half an inch deep — about half the patty thickness — creates a divot that the swelling center simply fills back in. You end up with a flat, even patty instead of a dome, and the thickness is more uniform, which means it cooks more evenly too.
Two details separate a working dimple from a wasted one. First, press it after the patty is formed, not before, and do not press it so hard that you crack the edges or squash the perimeter. Second, a dimple does not stop diameter shrinkage — nothing does completely. It fixes the doming and the uneven thickness. The width problem is solved by starting wider.
Handle the Meat Gently and Season at the Right Moment.
Overworking ground beef is the quiet killer. The moment you start kneading and squeezing to make patties look tidy, you are developing protein bonds that turn the patty dense, springy, and prone to aggressive contraction. Form patties with a light hand: scoop, gently shape the outside, and stop. You want the surface to hold together, not the interior to become sausage.
Salt timing matters more than most people realize. Salting ground beef and letting it sit for 15 to 30 minutes makes the meat bind and firm up like sausage — great for meatballs, wrong for burgers. Two good options:
- Salt the outside right before grilling. Season both faces of the formed patty and get it on the heat. The surface seasons, the interior stays loose.
- Salt the surface after forming but skip any long rest. If you must season early, keep it measured and keep the patties cold while they wait.
Keep the patties refrigerated until the grill is hot, then let them sit out for just a few minutes before they hit the grates. Cold, firm fat handles the heat better and sticks less. And please skip the eggs, breadcrumbs, and mayo unless you genuinely enjoy meatloaf. Binders add bulk but they do not stop protein contraction; they just change the texture of a burger that still shrinks. The real fix is in how you form and cook it.
Heat Control: Hot and Fast Beats Low and Slow.
Shrinkage is temperature-driven, which means your fire management is a shrinkage tool. Two things matter: cooking hot enough to sear quickly, and not cooking so long that the interior keeps contracting toward shoe leather.
Build a Two-Zone Fire.
Pile your coals or light half your gas burners and leave the other half empty. Sear the patties over the hot side to build color and set the crust, then move them to the cooler side to finish if they are thick. This is the same direct-versus-indirect logic that applies to everything from steak to chicken, and it gives you a place to move a patty when the fat starts dripping and the flames jump up.
Know Your Grate Temperature.
For patties three-quarters of an inch thick, you want a grate temperature around 400 to 450 degrees Fahrenheit — hot enough for a fast sear, not so hot that the outside burns before the middle is safe. Use the hand test or, better, a grill thermometer rather than guessing.
Leave the Lid Open for the Sear.
A closed lid traps heat above the patty, cooking it from the top as well as the bottom. That additional heat accelerates protein contraction, and in practice closed-lid direct grilling produces more doming and more shrinkage. Keep the lid open while the patties sear, then close it briefly at the very end if you are melting cheese or finishing a thick burger over indirect heat.
Never Press the Patty.
Every press of the spatula squeezes out juice that was doing its job keeping the patty moist, and it sends fat into the coals as a flare-up. Unless you are deliberately making a smash burger on a flat top — a completely different technique where thin patties cook in about ninety seconds — keep the spatula off the meat.
Timing, Internal Temps, and Not Overcooking.
Every extra minute on the grill is more moisture squeezed out and more diameter lost, which is why overcooking and shrinkage travel together. For a three-quarter-inch patty over direct medium-high heat, flip once after about three to four minutes, then cook another three to four minutes. Flip only when the patty releases from the grate on its own; if it sticks, it is not ready and prying at it tears the crust.
Ground beef must reach a safe minimum internal temperature of 160 degrees Fahrenheit. That is not a stylistic preference — grinding distributes any surface bacteria throughout the meat, so there is no "medium-rare" version of a burger that is actually safe to serve. If you want the full breakdown of how beef behaves at every temperature, we keep a dedicated guide to ideal beef cooking temperatures that pairs well with this one. Take the temperature from the side of the patty, into the center, and pull at 155 to 158 if you want to account for carryover cooking, which will nudge it the rest of the way under a covered plate.
| Doneness | Internal Temp | Notes |
|---|---|---|
| Well done (USDA safe minimum) | 160 F | The only safe target for ground beef |
| Pull for carryover | 155-158 F | Rises about 5 F while resting |
| Overcooked | 170 F and up | Dry, crumbly, and maximally shrunken |
Give the patties a short rest, three to five minutes, before they go on the bun. Resting lets the juices redistribute instead of running out onto the plate on the first bite. If you have ever wondered how long a rest actually buys you on different cuts, our resting times guide covers everything from burgers to brisket.
The Mistakes That Make Shrinking Worse.
If your burgers keep coming out small, run down this list before you blame the beef:
- Buying lean ground beef. 90/10 shrinks just as much and tastes worse doing it. Use 80/20.
- Kneading the meat. Tightly packed patties contract harder and cook denser. Form them loosely.
- Forming patties bun-sized. Build them about a quarter wider than the bun and plan for the loss.
- Skipping the dimple. The center will dome and your toppings will slide.
- Low, slow heat. A long cook means a long contraction. Sear hot.
- Pressing with the spatula. You are trading juiciness for drama in the coals.
- Cooking past 160 F. Set a timer and use a thermometer, not vibes.
What to Do If Your Patties Already Shrank.
Nobody nails it every single time, including people who cook for a living. If your patties came off smaller than the bun, you have a few graceful recoveries. Move to a smaller, sturdier bun — a good brioche or potato roll with a tighter crumb hides a lot. Or lean into it: stack two smaller patties with cheese between them and call it a double. And if the edges pinched in while the center stayed thick and domed, cut the domed center out with a biscuit cutter and use the trimmings for a chopped-cheese style burger or mix them into a breakfast hash the next morning.
The best long-term move, though, is to change your default shape. Thinner patties with a wide footprint shrink less in relative terms, cook in less than half the time, and behave better on the grates. Many backyard cooks land permanently on a 4-ounce patty, pressed just a bit flatter than they think they want, and never go back.
The Short Version.
Shrinkage comes down to contracting muscle proteins, fat and water loss, and too much heat for too long. Beat it with a few deliberate choices:
- Buy 80/20 ground chuck, coarsely ground and fresh.
- Form 5- to 6-ounce patties about 4.5 to 5 inches wide and three-quarters of an inch thick — wider than the bun.
- Press a half-inch dimple into the center of each patty.
- Handle the meat lightly; salt the surface, not the interior, right before grilling.
- Sear over a 400 to 450 F direct zone with the lid open, flip once, and do not press.
- Pull at 155 to 158 F and rest a few minutes so it lands safely at 160 F.
Do those and the patty you put on the grill is the patty you take off — flat, wide, and juicy enough that nobody at the table notices anything except how good it tastes. Fire it up, keep the lid off for the sear, and get that dimple pressed in. Your buns will thank you.


